How to manage your EGA account
Welcome to the documentation page for creating an EGA user. The European Genome-Phenome Archive (EGA) is a platform for archiving, managing, and sharing human genomic and phenotypic data. To submit, access, and manage requests for the data hosted on the EGA platform, users are required to register for an account. This documentation page provides step-by-step instructions for creating an EGA user account, as well as information on the different types of EGA user accounts and their associated privileges.
You can check the EGA data flow for a better understanding.
Manage EGA account step-by-step guide
Request an EGA account step-by-step guide
- Fill in this form.
- You cannot use a generic email account (e.g., Gmail). Make sure you use your institutional email account.
- Your email is by default your username.
- The criteria for a strong password is:
- It should contain between 8 and 32 characters
- It should contain at least one uppercase letter
- It should contain at least one number
- It should contain at least one special character
- You will need to wait for the Helpdesk team to check your identity. Please allow two business days for this step.
- After the Helpdesk validation step, you will receive an email with a link to validate your institutional email.
- Click the link to verify your email. It will redirect you to the EGA website.
- As soon as your account has been validated, you will be able to start adding more information to your EGA profile. For that, you first need to log in using your credentials from step 1.
Manage EGA account step-by-step guide
- As a logged-in user, go to your profile by clicking on Welcome > My Profile. To modify it, click the Edit button.
- You will see the following options:

Contact Information
In this section, you can modify the personal information of your EGA account.
Public Keys
Adding a public key is necessary for downloading data via Live Outbox distribution. If you don’t know how to generate your key, you can follow the instructions available on How do I create a key?
Password
In the Password tab, you can change your password anytime to ensure the security of your account.
However, if you receive an email notifying you that your password was modified and you did not initiate the change, it could be a sign that your account has been compromised. In this case, you should immediately contact our Helpdesk team to report the issue and receive assistance in restoring your account security.
Authenticator
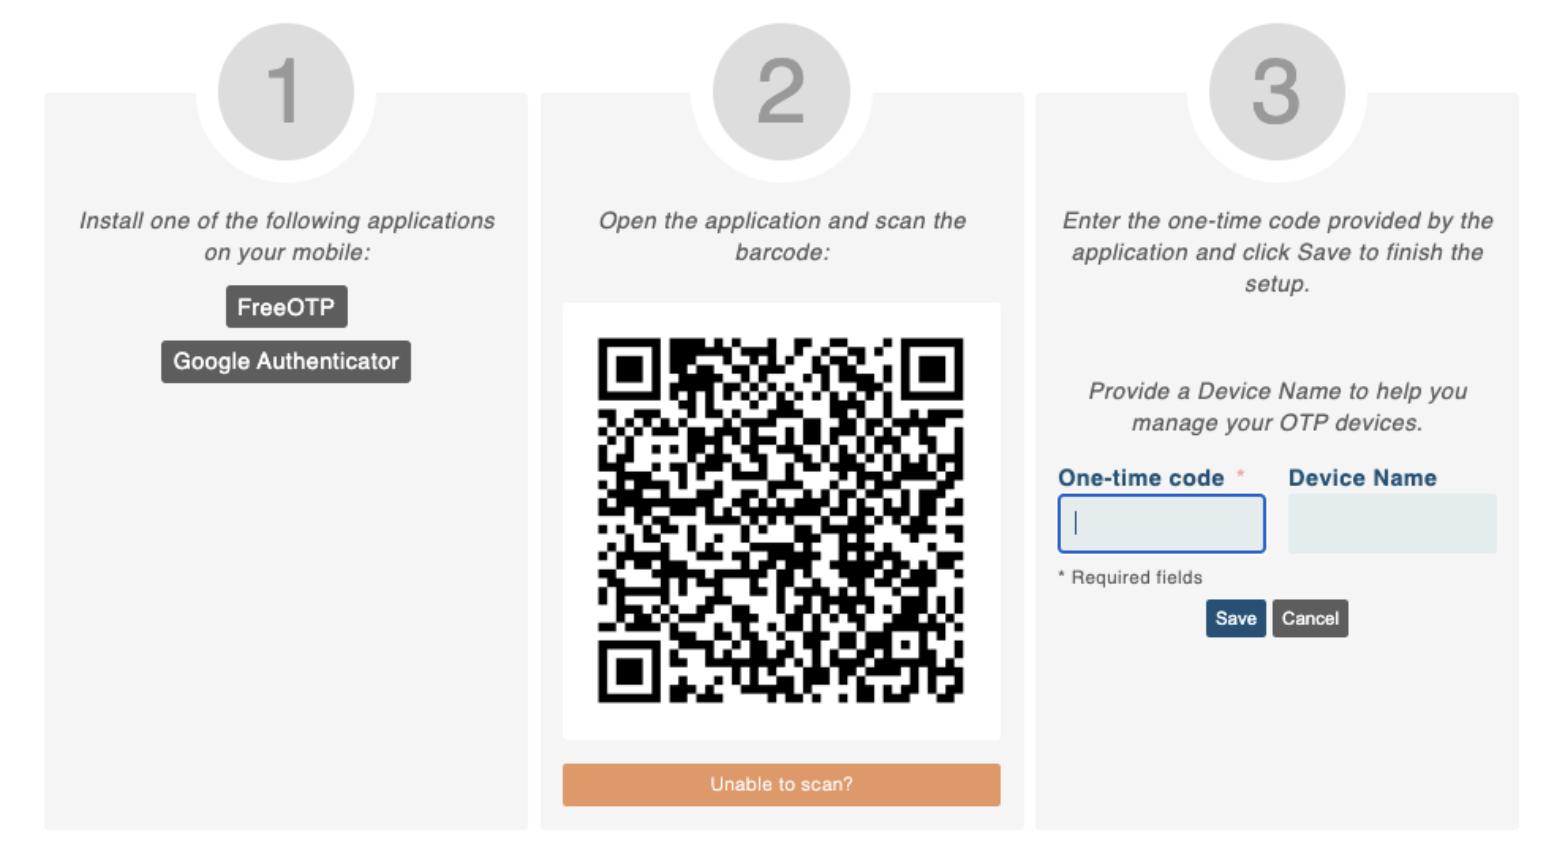
You can set your two-factor authentication (2FA) system for your EGA account as an identity and access management security method that requires two forms of identification to access resources and data.
To obtain your code, please follow the instructions below, also available in the Authenticator tab in your profile.

Sessions
The Sessions tab displays a list of all devices where you are currently logged in as an EGA user. This includes any open sessions you have on your computer, phone, or other devices. By reviewing the list of active sessions, you can monitor the devices that have access to your account and ensure that there are no unauthorised logins. If you notice any suspicious activity, you can close the sessions from this page to immediately terminate access to your account from the unauthorised device.

